
Handbook
Our Foundation
A2P&V Philosophy
Ten principles every creative on our team works by, from your first booking to your final delivery.
1
Build a Strong Theoretical Foundation
Understanding the basics is essential. Differentiate between RAW and JPEG, grasp concepts like exposure, aperture, ISO, and stabilization. Prioritize theory to enhance your practical skills. Consider taking a theoretical assessment before approval.
2
Connection with People
Capture genuine emotions by engaging with subjects. Learn to make people smile, interact, and create natural, candid moments. When you finish a wedding shoot, make a point to personally thank the parents of the bride and groom before you leave. If you miss a moment, it's okay to have them do it again. Give them time to greet their loved ones, then once things have calmed down, have them repeat the moment if needed. Be tactful and respectful. Be cautious when photographing children, always demonstrate an appreciation for what they add to the project but maintain a professional boundary. It's okay to build friendly relationships with your clients, but remember to let them enjoy their special day. Professional conduct is key.
3
Authentic Portfolios and Practical Experience
Transparency matters. Showcase your real work in your portfolio, not borrowed images. Prove your skills with practical experience and a genuine portfolio that you've captured yourself. Share RAW materials to validate your portfolio's authenticity.
4
Equipment Fit for the Task
Use suitable equipment that meets minimum requirements. Proper cameras, audio equipment, stabilization, and lighting are crucial. Videographers need to ensure stabilization and quality audio, and photographers should have the right lighting gear and know how to work with it properly.
5
Composition and Smooth Movements
Learn about composition, camera movements, and angles. Avoid chopped-off limbs or shaky footage. Prioritize cinematic quality in your work, embracing diversity of composition from wide, medium, to tight shots.
6
Collaboration and Coordination
Work harmoniously as a team with a photographer/videographer. Avoid interfering with each other's work. Maintain clear communication and coordination to avoid having unwanted elements in each other's shots.
7
Appropriate Camera Settings
For videographers, follow suitable camera settings. Aim for quality, not excess. Use 1080p or 4K footage with optimal bitrates and 60fps. Ensure that your clips are at least 5–10 seconds long for key moments instead of just laying on the record button. And vice versa, for procession, recession, dances, and toasts/speeches, record them in their entirety in case they add an extended edit.
8
Photographers, Embrace RAW Imagery
Submit only RAW images for editing. This ensures the highest quality and flexibility during post-production.
9
Timely Uploads to Company Storage
Promptly upload your footage and photos to the company's storage right after the event. This ensures an efficient workflow and data security.
10
Preserve Backups
Hold onto backups of your work for at least 6 months after the event. This safeguard ensures that precious memories are protected. We recommend manually recording the number of images on your memory card and comparing them to the file quantity on your hard drive. Additionally, save your work on at least 2 hard drives in addition to the cloud.
Delivery Workflow
Uploading Your Final Materials
As soon as your event wraps, get your RAW materials into our system. There's no fixed deadline to wait for — the sooner it's uploaded, the sooner we can review it and get your payment moving.
Fill out the Media Delivery Form
This generates your personal upload link and invoice link for the project
Upload your RAW files ASAP
Add any special notes or song choices in the form so our editing team has full context on the project.
Mark it "Media Uploaded"
Once everything is in, update your submission status so our team knows to start processing your payment.
Media Delivery Form
Every project starts here. Submitting this form automatically generates your upload link and your invoice submission link.
getting paid
Invoicing & Payment Schedule
Once we've received your RAW files, submit your invoice amount through the link generated by your Media Delivery Form. Payments go out automatically via Zelle, so please double-check your numbers before submitting.
ON TIME
Uploaded before 9:00 AM Monday
Your payment is included in that Monday's payment run. We process payments every Monday — get your files in before the cutoff and you're covered.
NEXT CYCLE
Uploaded after 9:00 AM Monday
No problem — your payment will simply go out the following Monday. Uploading earlier in the week gives you the best chance of catching that week's run.
PLEASE READ
Important Note!
Do not convert your files before upload!
If you are a photographer and do culling yourself, please make sure you're exporting your files as originals (not DNG, TIFF, or anything else).
If you're a videographer, please just upload actual video footage and audio files to the video folder. Please do not create tons of subfolders or upload useless temporary files your camera can create while filming.
Please keep the original files as a backup for at least a couple of months after the event.
Quick Reference
Reminder Guide
A fast recap of our shooting requirements. Tap each role to expand.
Photography
The A2P&V Weddings style is based around both a trendy and timeless look. We want our photos to be current and competitively styled, but also have lifelong lasting value for our clients. Any time an edit becomes too trendy, it becomes likely our clients will be unhappy with their photos either immediately or over time. While our contract states we will shoot and edit the day as we see fit, we still have to be consistent. The work our clients see on our instagram is what they are comparing their delivered product with.
While lighting, preference, location, and clients vary greatly, we still need to make an effort to deliver what we advertise. Below you will find few photography tips and suggestions:
Mastering Light: The magic of photography begins with light. Understand the play of natural light and how to use it to your advantage. Pay attention to different times of day for varied effects, and consider using reflectors to soften harsh shadows.
Flash of Brilliance: Don't shy away from flash photography. When used correctly, it can enhance your shots in low-light situations. Explore bounce flash techniques to create natural-looking lighting.
Composition Matters: Elevate your shots through mindful composition. Apply the rule of thirds to frame your subjects, consider leading lines for dynamic perspectives, and experiment with various angles to capture unique moments.
Connecting with Subjects: Photography is not just about capturing images; it's about connecting with people. Interact with your subjects to bring out genuine emotions. Encourage smiles, laughter, and natural expressions to tell authentic stories.
Background Harmony: Pay attention to your background. A cluttered or distracting background can take away from your subject. Keep it simple, use depth of field creatively, and ensure the background complements the story you're telling.
Candid Moments: Candid shots often reveal the most genuine emotions. Be patient, observe, and anticipate moments. Capture the unscripted interactions that make each wedding unique.
Working with Couples: Guide couples with gentle prompts to create intimate and romantic moments. Encourage them to hold hands, share whispers, or steal a quick kiss. These simple interactions can result in breathtaking shots.
Camera Synchronization: If you're using multiple cameras at an event, synchronize their date and time settings. This ensures seamless organization during post-production and prevents any confusion when sorting your shots.
Mindful ISO and Exposure: Maintain an ISO setting not exceeding 800, whenever possible, to avoid excessive noise in your photos. Keep your exposure time reasonably short, especially when shooting handheld, with a shutter speed not slower than 1/100.
Light Diffusion: When using flash, avoid directing it straight at your subjects. Always diffuse the light with a diffuser or similar tool to create soft and flattering illumination.
Storytelling Over Continuous Shots: Instead of continuously taking long series of photos in one scene, focus on storytelling and selective capturing. Choose moments that convey the narrative of the day, ensuring every shot tells a part of the couple's unique love story.
Remember, every click of the shutter is an opportunity to freeze a memory in time. These photography tips will help you capture beautiful moments, create lasting memories for your clients, and ensure your technical skills are finely tuned. Happy shooting! 📷✨
See full Photography Requirements →
Videography
Crafting Exceptional Videos: Nailing Both Production and Post-Production
Achieving captivating videos requires precision at every stage, from production to post-production. This concise guide is designed to address common filming mistakes and offer effective solutions. While circumstances may occasionally challenge you, often, you have the power to take control and ensure the best possible outcome.
Before leaving a location, follow these key steps to guarantee your footage is flawless:
1. Thorough Equipment Check:
Inspect your equipment for dust or scratches on the lens or sensor.
Confirm that your resolution and frames per second (FPS) settings align with our requirements.
2. Exposure Mastery:
Avoid underexposure or overexposure by adjusting your camera settings to achieve the desired lighting.
3. Precise Focus:
Ensure sharp focus to prevent defocused shots that can't be salvaged in post-production.
4. White Balance Perfection:
Maintain an appropriate White Balance setting to avoid shots that appear too warm or too cold.
5. Steady Footage:
Address stabilization issues by using tools like gimbals to achieve smooth, shake-free footage.
6. Emotion Selection:
Thoughtfully choose the emotions you want to convey in your shots, ensuring they align with your storytelling goals.
7. Realizing Your Vision:
Ensure that your creative ideas are fully realized during filming, so your vision is accurately captured.
8. Diverse Angles and Focus Distances:
Avoid repetition by varying your shooting angles and focus distances to add depth and interest to your footage.
9. Frame Clutter:
Remove any unwanted objects or distractions from the frame to maintain a clean and professional look.
10. Final Review:
- Take a moment to review your shots and make sure you're satisfied with the results.
By proactively addressing these potential issues during production, you'll set the stage for successful post-production work. Remember, the art of filmmaking involves not only capturing moments but also curating an experience for our clients.
See full Videography Requirements →
Field Notes
Common Tips & Suggestions
Maintaining a Dust-Free Setup: Cleaning Your Camera Equipment
A pristine lens and sensor are crucial for capturing flawless footage. If you've noticed an abundance of dust spots in your shots, it's time to give your setup some tender loving care. Here's how to ensure your equipment stays dust-free:
1. Lens Cleaning
Use a lens pen or microfiber cloth to gently wipe your lens, removing any visible dust or smudges.
2. Sensor Care
If dust still persists in your shots, it's time to address your camera's sensor. The best course of action is to entrust it to the expertise of your nearest service center.
3. DIY Sensor Cleaning
Alternatively, you can undertake sensor cleaning yourself in a controlled environment. Follow these steps carefully:
Find a non-dusty, clean, and dry location to work in.Bullet List 1
Remove the lens from your camera.
Turn your camera on and set it to Live View mode (video mode).
Use a pear enema to gently blow out any dust from the image sensor. Patience and extreme care are essential during this step; avoid touching the sensor.If you still notice dust particles on the sensor, you can perform manual cleaning using a cotton swab.
By regularly maintaining your camera equipment, you'll ensure that dust doesn't compromise the quality of your footage. Remember to handle your gear with care and perform cleaning procedures in a controlled environment to safeguard your equipment's longevity.
A clean setup leads to pristine shots and, ultimately, delighted clients.
Getting Everyone's Eyes Open in Group Shots
Group photos are one of the easiest places to lose a great shot to one blinking guest. Here's a reliable method to fix that:
Set your camera's drive mode to continuous/burst shooting, then ask everyone in the group to close their eyes and open them together on the count of three. Fire multiple frames right as their eyes open, and repeat the process two or three times to make sure you walk away with at least one clean shot where everyone's eyes are open.
optimizing exposure: The Value of Proper Histogram placement
Efficiently managing your exposure is fundamental to capturing remarkable footage. To achieve this, pay close attention to your histogram — a powerful tool that visualizes your image's tonal distribution.
1. Centered Histogram Peak
Aim to position the peak of your histogram closer to its center. This indicates a well-balanced exposure with a range of tones, preserving details in both highlights and shadows.
2. Underexposure vs. Overexposure
In situations where achieving a centered peak is challenging, it's advisable to opt for slight underexposure rather than overexposure. When correcting such issues in post-production, underexposed areas may exhibit some noise, which can be managed. However, it's considerably more challenging to rectify overexposure, where detail loss is often irreversible.
By heeding this advice, you'll enhance your footage's dynamic range, ensuring that essential details are preserved. A well-exposed image serves as a strong foundation for post-production work and, ultimately, visually stunning content.
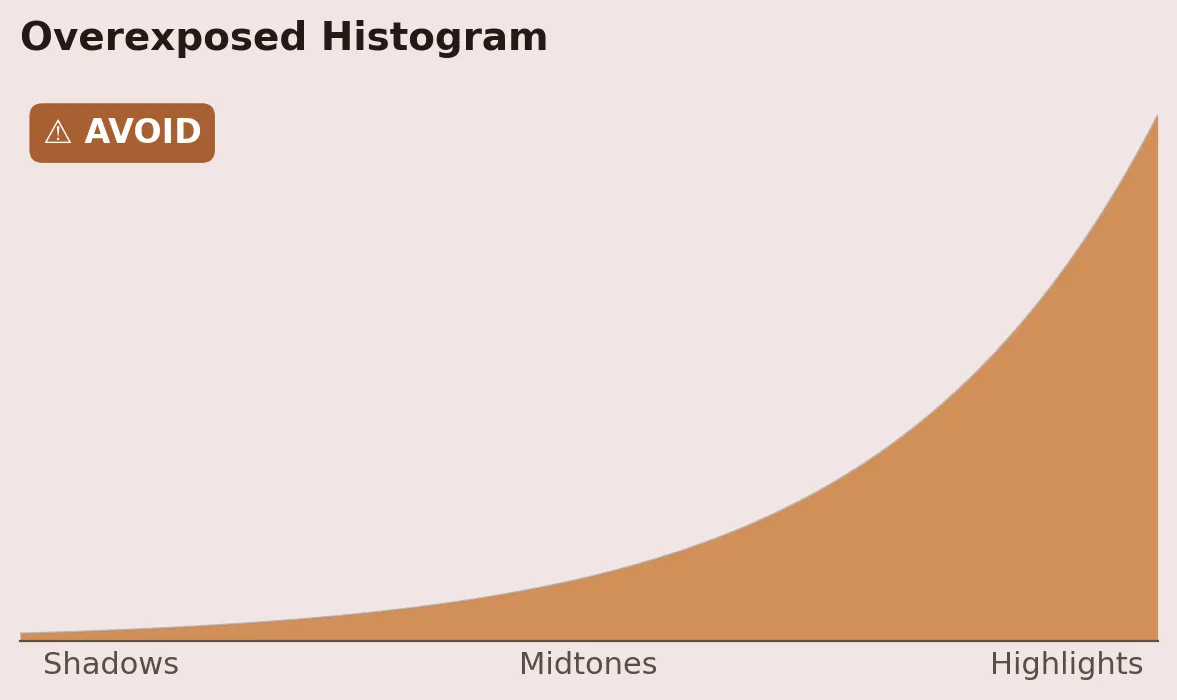
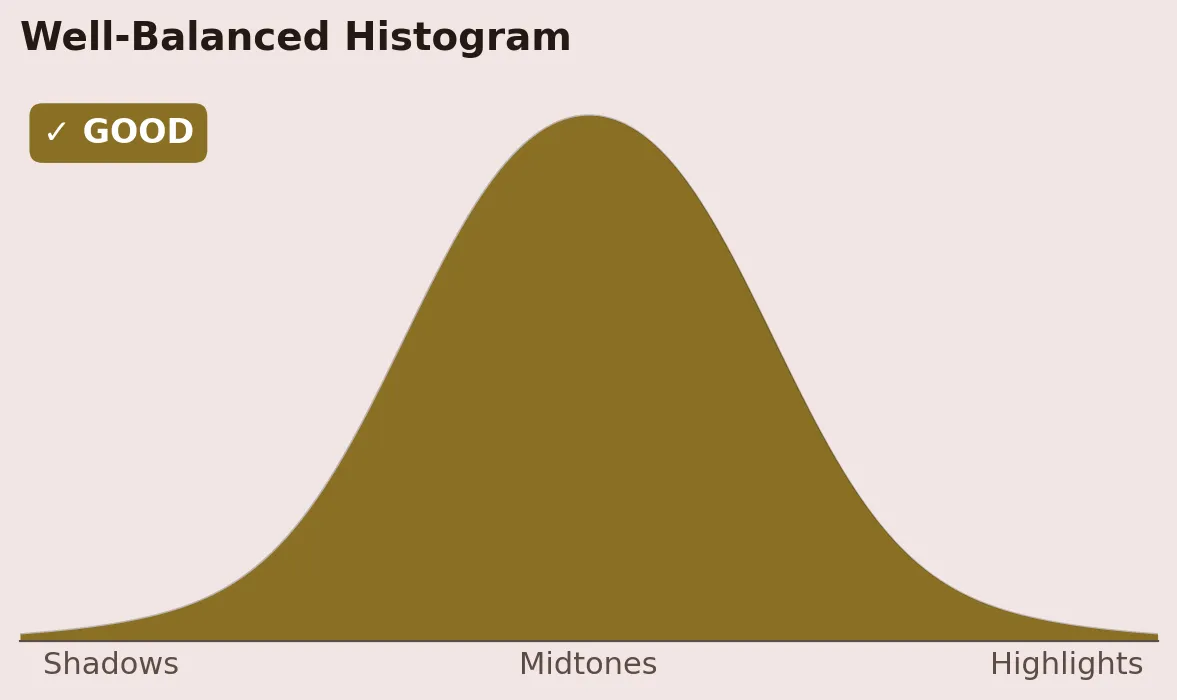
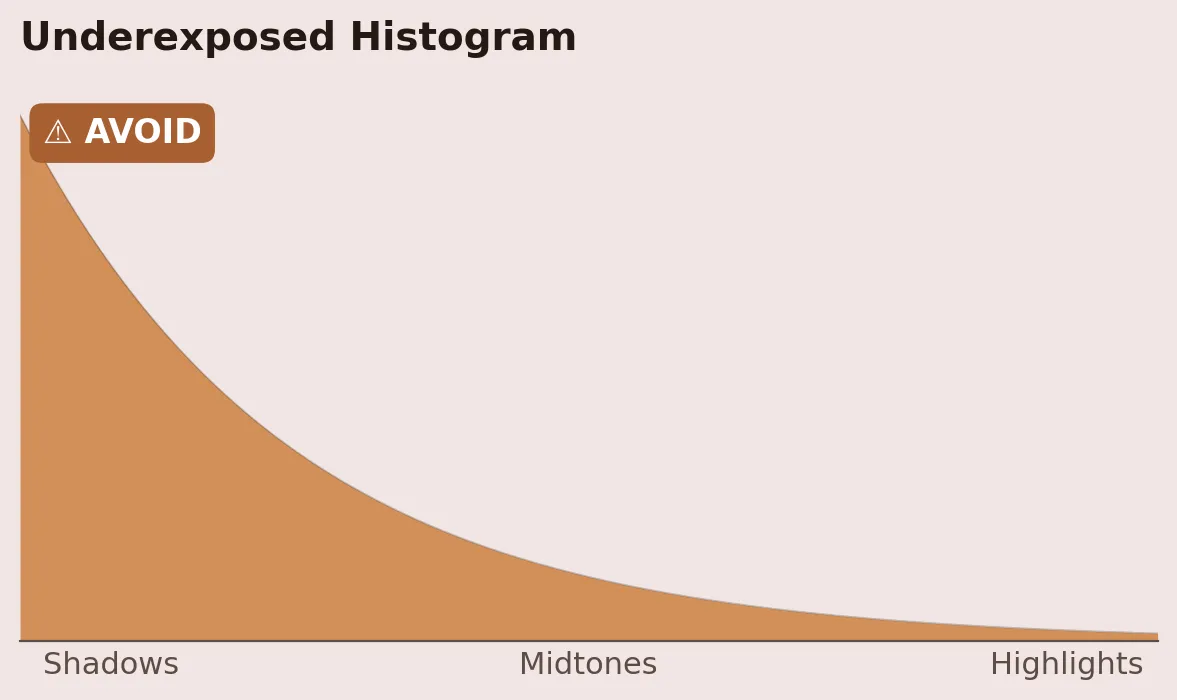
Same subject, three exposures. The centered histogram on the right holds detail in both the highlights and the shadows — that's the one you want to deliver.
Keep an eye on focusing
Make sure you have focus on the object you are filming!
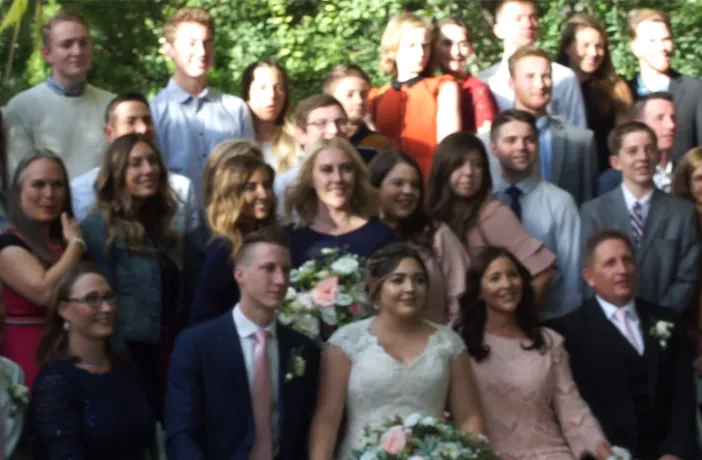
Don't — the subject is soft and out of focus.
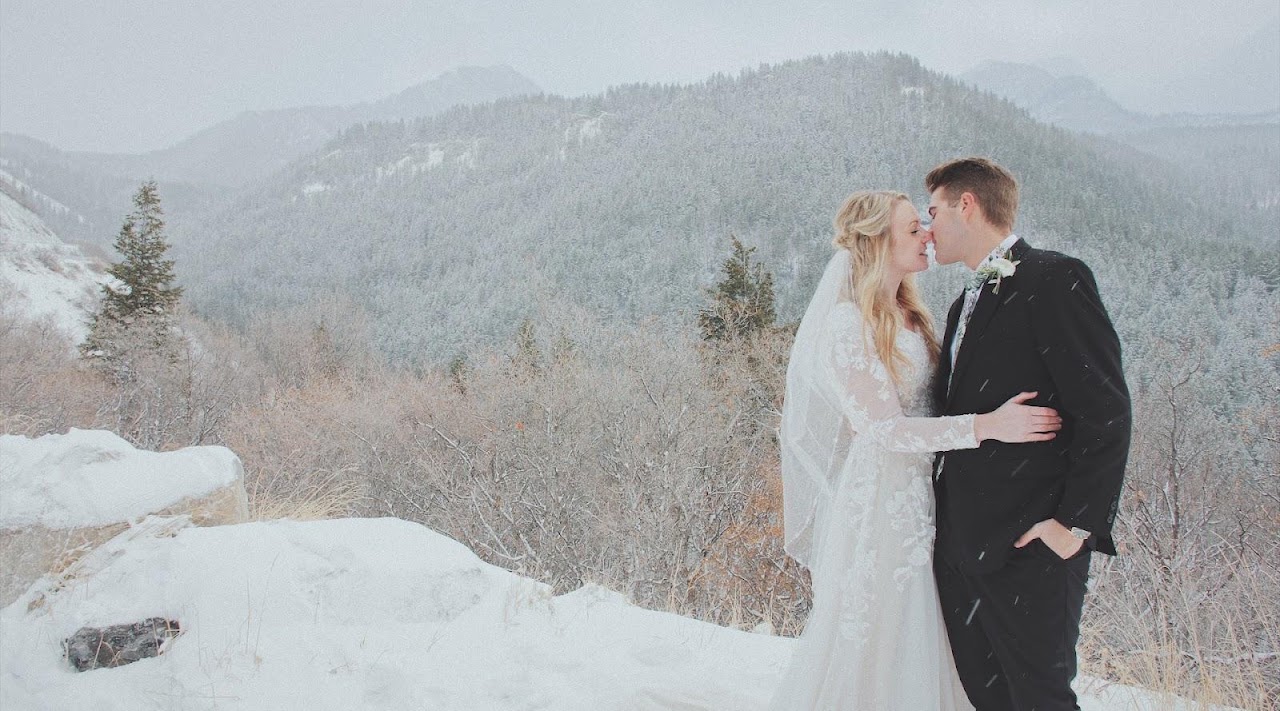
Do — the subject is sharp and clearly the focal point.
Mastering White Balance: Achieving Accurate Colors
Achieving accurate white balance is essential for capturing true-to-life colors in your footage. When you encounter challenges finding the correct white balance value, here's a step-by-step guide to help you:
1. Find a White Reference
Look for something white in your surroundings; for instance, a bride's wedding dress often serves as an ideal reference point due to its pure white color.
2. Manual Adjustment
Manually adjust the white balance value until you strike a balance between avoiding overly cool (blue) or overly warm (orange) tones in the bride's wedding dress. This compromise should reflect the true colors of the current setting and time.
3. Set White Balance in Advance
It's always advisable to set the white balance manually before you commence shooting in a new location. This proactive approach allows you to maintain control over the color temperature and not rely solely on the environment.
4. Sequence of Settings
A crucial point to remember is that white balance should be configured only after you've set the correct exposure value. Each exposure setting carries its distinct color temperature, and aligning them in this sequence ensures consistent and accurate results.
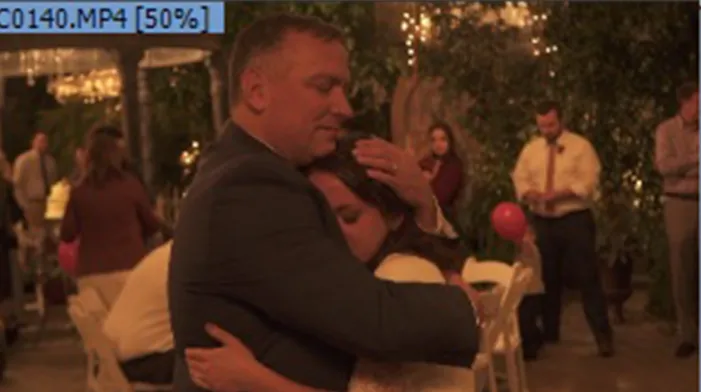
Don't — left uncorrected, tones skew too warm or too cool.
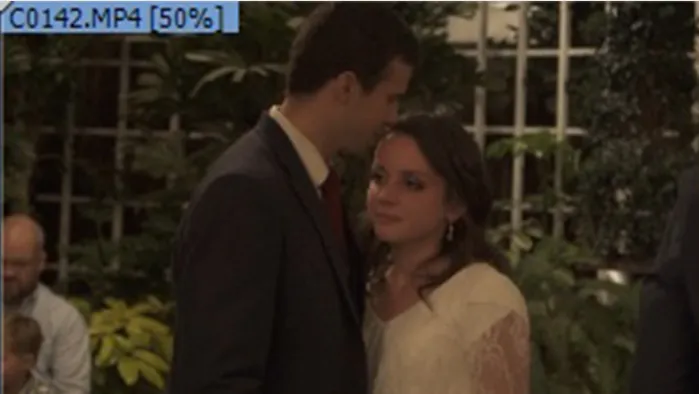
Do — set manually against a white reference for true-to-life color.

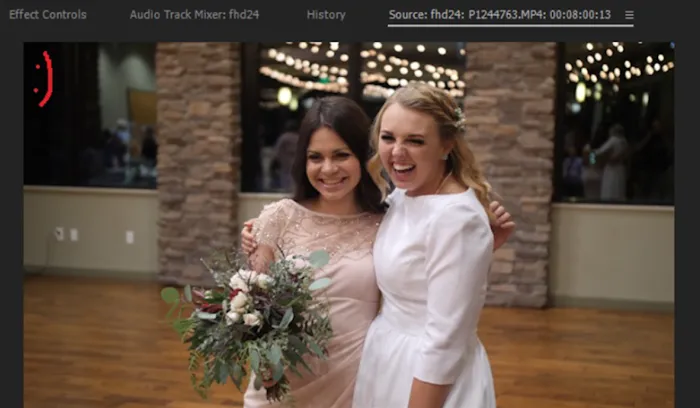
Selective Filming: Capturing Memorable Emotions and Moments
At least ask for a smile 🙂
When crafting videos, it's vital to prioritize meaningful and emotionally engaging content:
1. Avoid Indifference and Negative Emotions
Omit scenes that showcase indifference or negative emotions. Steer clear of angles that capture uninteresting moments, such as people's backs or mundane activities like nose-picking, coughing, or conversations lacking positivity.
2. Focus on Positivity
Aim your lens at moments that radiate positivity — genuine laughter, heartwarming smiles, handshakes, hugs, and tears of happiness. Don't hesitate to interact with guests and encourage them to express themselves — a smile, a wink, or a friendly wave can transform an ordinary shot into something special.
3. Be Efficient in Filming
While it's beneficial to have extra footage, avoid excessive filming. Shooting hours of footage can overwhelm you during the editing process. Instead, focus on capturing the most poignant and relevant moments that contribute to your storytelling.
4. The Art of Story Selection
Remember that video production is more than just pressing the record button; it's about carefully selecting the elements that form a compelling narrative. Your role as a videographer is to curate the story, emphasizing emotions and moments that matter most.
By following these principles, you'll create videos that not only capture the essence of an event but also resonate deeply with your audience, leaving a lasting impression. Video production, at its core, is about shaping stories that touch hearts.

Don't — flat, disengaged moments rarely make the edit.
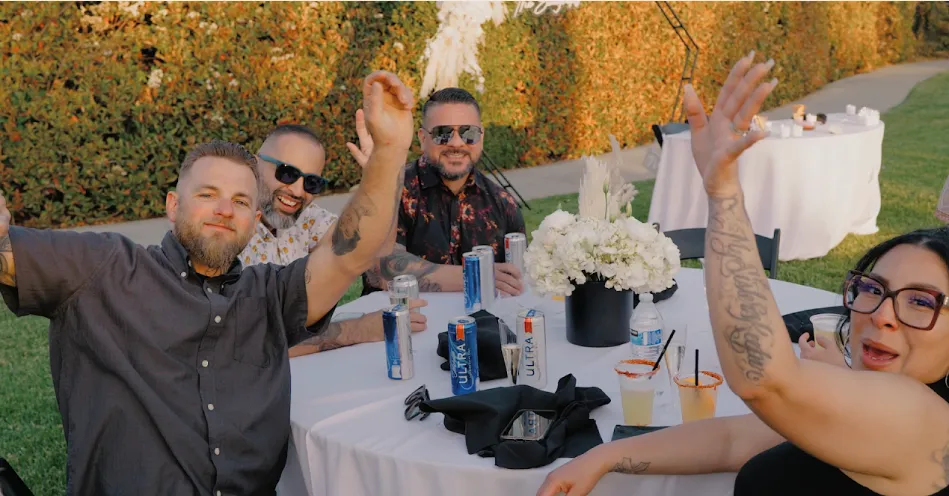
Do — chase genuine laughter, hugs, and happy tears.
✅ Happy filming! Cheers!